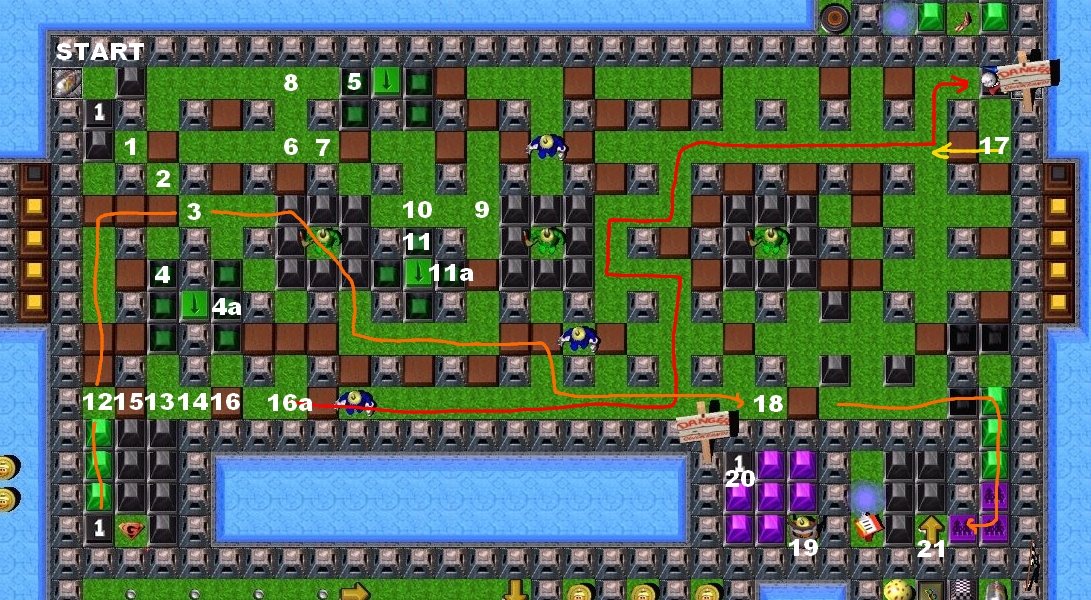
 TimeBomb #1 TimeBomb #1 |
- Go to the [1] and place the TimeBomb
 at [2]. at [2].
- Go to the [3]. When the boomerang
 misses you, go to the lowered GP misses you, go to the lowered GP  at [4] and wait for the enemy Grunt at [4] and wait for the enemy Grunt  to reach the lowered GP at [4a]. to reach the lowered GP at [4a].
- When he stepz toward the GHS
 , quickly call your grunt to move to the START. , quickly call your grunt to move to the START.
- Move your grunt to the [8], then to the [6] and place a TimeBomb at [7].
- When boomerang is thrown, go to the [8].
- Wait there for boomerang being thrown again and move to the [9] before it hits you.
- When left enemy Grunt
 throwz a boomerang, move to the [10], and when the right enemy Grunt throwz, return to the [9]. throwz a boomerang, move to the [10], and when the right enemy Grunt throwz, return to the [9].
- Then move to the lowered GP at [11] and wait for the enemy Grunt to be half-way onto the lowered GP at [11a]. When he reaches that point, quickly call your grunt to move to the START. Take the keg of Zap Cola
 . .
- Make your way to the [12] and destroy the Brick
 at [15]. Move to the [13], then quickly return to the [12] before boomerang hits you, place a TimeBomb at [14] and return to the [15]. at [15]. Move to the [13], then quickly return to the [12] before boomerang hits you, place a TimeBomb at [14] and return to the [15].
- (IF YOU WANT TO GET THE PERFECT! SCORE:)
- Go to the [16] and wait for boomerang to miss you.
- Place a TimeBomb at [16a] and return to the [15].
- Once again go to the 16, wait for boomerang to miss you, and then start moving through the red line, stopping at proper moments to avoid boomerangz.
- Press the BOTS and take the Keg of Zap Cola
- Place a TimeBomb at [17], move there once it explodes
- Then return to the [12] by using the same way you came.
- Take the Invulnerability power-up
 and start moving through the orange line. and start moving through the orange line.
- Place a TimeBomb at [18] and keep standing where you've stopped until it explodes, then keep going through the orange line.
- Once all PMGSz
 are occupied, select your Grunt are occupied, select your Grunt  at [19] to press the BOTS at [19] to press the BOTS  at [20] at [20]
- Then move Bombergrunt onto the arrow
 at [21]. at [21].
- (IF YOU WANT TO GET THE PERFECT! SCORE:) do some exploring before you exit to Stage 5.
|
 at [11]
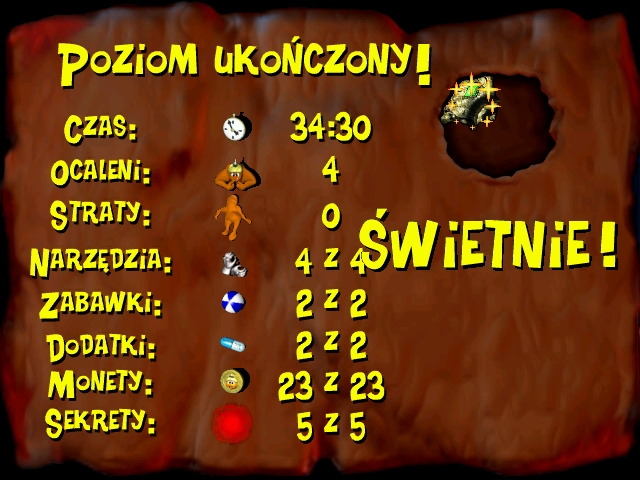