 Bare-handed #3
 (CPS) (nothing happenz ... yet).
When the CheckPoint Pyramid
 (CPP) finally lowerz
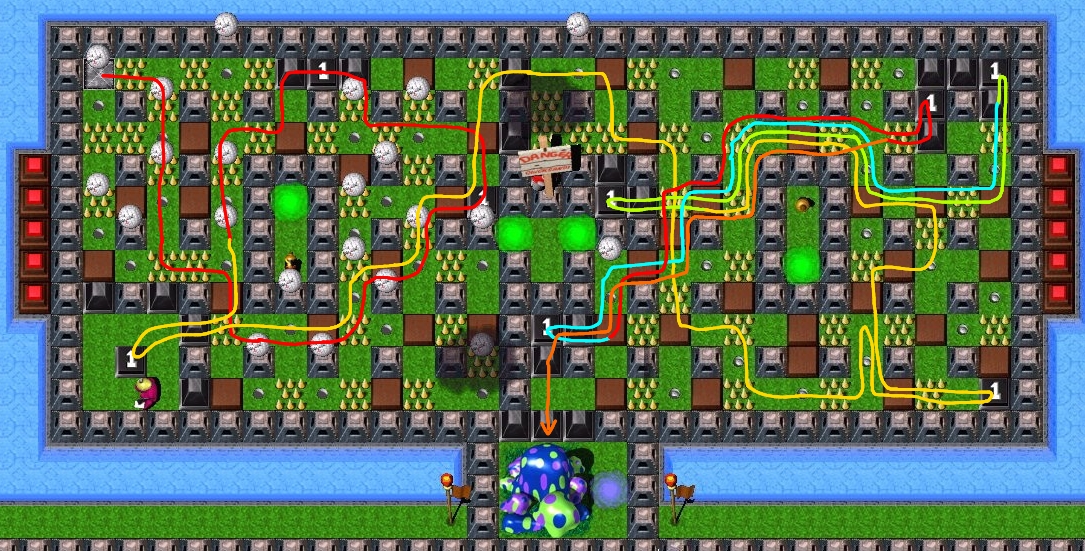
  , step forward and latch onto the Tool right in front of you and become (ta-da!) Magic Wand Grunt.
Practice your wormhole diving with the Blue Wormhole
 (BW) in front of you.
 TimeBomb #1 and
 Magic Wand #3
just divez through Green Wormholez
Magic Wand #3
just divez through Green Wormholez  (GW) and wavez his Magic Wand
  every now and then.
Grunt #1
movez through the colorful linez, possibly destroying all the brickz that will block your path (the sooner the better).When you encounter a situation where you have to place a TimeBomb
 and there is no other way to move away from the explosion than to step on Spikez
  , you can (and even should) avoid being harmed twice by moving onto the Spikez just before the explosion and then immediately returning to your previous position.
Use the Magic Wand to heal Bombergrunt each time his life drops to tiny red point.
Remember that each time you reach a "safe spot" (no threat from Spikez
, Thundercloudz or Jumping Golf Ballz), you should wait for the Thundercloud to pass, then start moving through the potentially dangerous area.Use the Zap Cola bottlez
 each time the Wizard's life drops to 5/20.
You can get rid of the enemy Grunt
 using the same method as used in Stage 3.
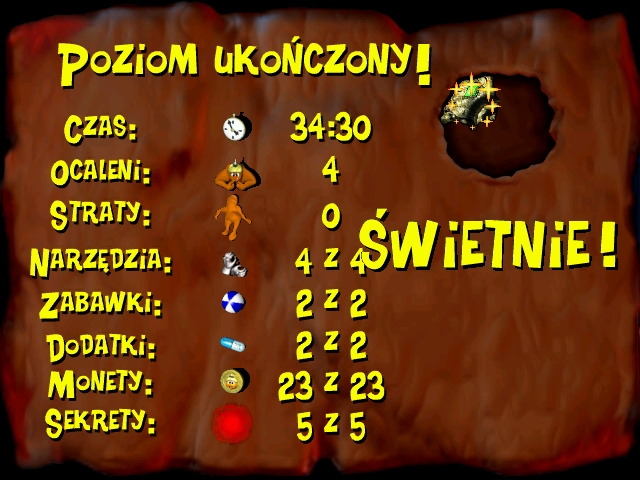
(IF YOU WANT TO GET THE PERFECT! SCORE:)
There's a Black One-Time Switch
 (BOTS) hidden behind the "DANGER" sign.
Also, do some exploring near the Warpstone Piece
 .
. Warpstone #1 to the King!