


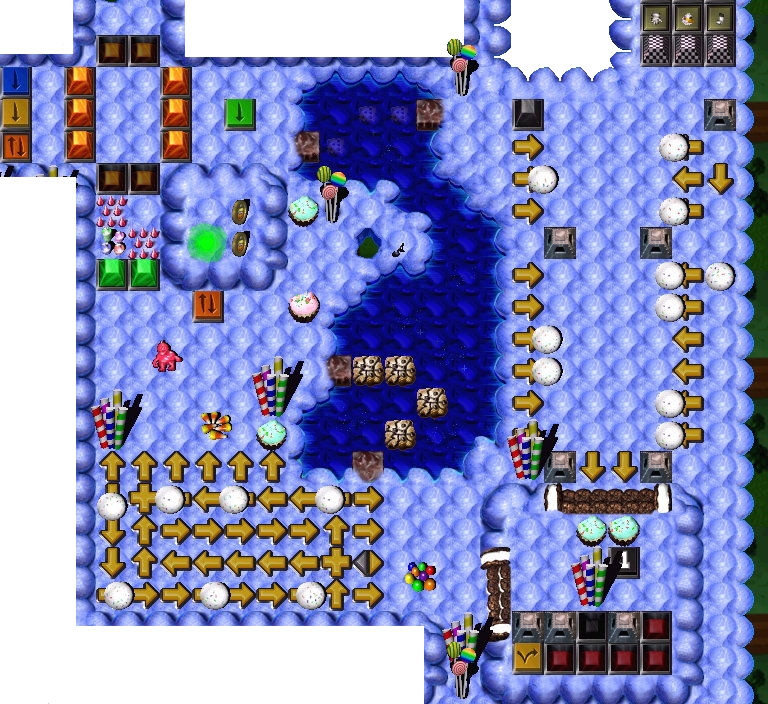
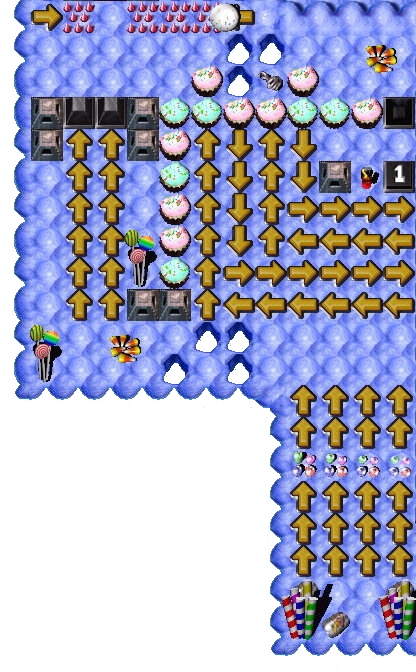
| The Three Musketeerz ... Outline |
|
|---|---|
| Area | Description of what is happening (Area image) |
| 1 | Assembling the team |
| 2 | Two Musketeers |
| 3 | Three Musketeers |
| 4 | The Toggling Bridge puzzle |
| 5 | The Club Gruntz |
| 6 | CheckPoint number 1 |
| 7 | Spikez maze #1 |
| 8 | The 'fort' |
| 9 | Arrowz and Holez |
| 10 | CheckPoint number 2 |
| 11 | Crossing the Pool |
| 12 | Three Musketeers, four Switchez |
| 13 | The fourth Musketeer - CheckPoint number 3 |
| 14 | Spikez maze #2 |
| 15 | The New Three Musketeers |
| 16 | CheckPoint number 4 |
| 17 | The 'Tic-Tac-Toe' room |
| 18 | Building bridgez while under fire |
| 19 | Put on your track shoez! |
| 20 | He's toying with you - CheckPoint number 5 |
| 21 | Split Up And Reunion |
| 22 | CheckPoint number 6 |
| 23 | How am I supposed to get past this? |
| 24 | The lonely Musketeer - CheckPoint number 7 |
| 25 | Three Musketeerz again |
| 26 | Spikez And Brickz And Holez |
| 27 | Keep the ball rolling! - CheckPoint number 8 |
| 28 | The final battle |
| 29 | Cross over the bridge(z) |
| 30 | Homeward bound |