 #1
#1Once you have done this you have a choice of either of two paths.
(I took the bottom path if you must know.)
Then click on a Landing Dock
 as soon as you see two open Bridge Tilez
  , whether it be to the east or to the south.
The next part requirez a bit of anticipation; just step out in faith when the Bridge tile
 becomez opened and click on the next in the same timing and move to the next tile and so on until you reach the Landing Dock to get the Tool.
 #1
#1Fly across one Space Tile to the nearest
 and wait until there is a under the Megaphone and use it.
Quickly pick up the Coin next to it and move along to a
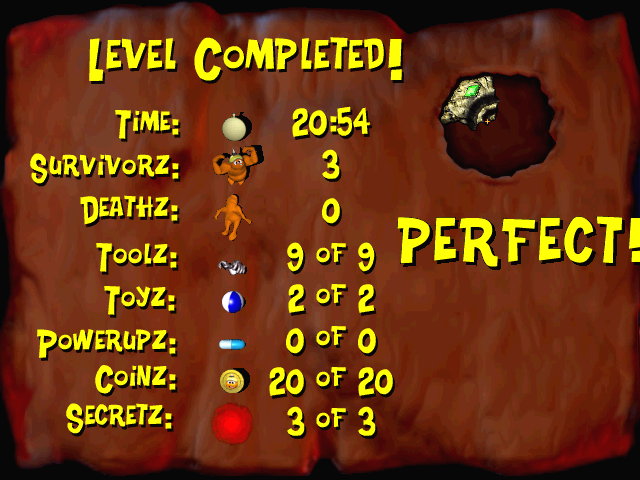
to the south.If your goal is a "PERFECT!" score, you need to find a Secret now.
Now fly to your right (east) towardz the
 and stand on it until the boulder passes the Two-Way Arrow
  triggered above you.
The boulder will then pass over the
 Bridgez and over the
  lowering two of the four
  z below the northwestern plateau.
Once you have done this fly over to the plateau. There are three enemy Wingz Gruntz nearby. You need the Goo from at least one of the three. You have some choicez to make: turn enemy Gruntz into Goo Puddlez with the twisterz from your Wingz; or give Wingz the Tool that was cranked out when you used the Megaphone, and use that to battle the enemiez.
 #?
#? an odd number of timez, so you may go through the Blue Wormhole.
You may choose to go after the W now, or take a chance that someone can get it later ... when the enemy Boomerang Grunt has been 'neutralized'.
The Blue Wormhole will then take you to an L shaped land with 2 Goo Puddlez to be sucked up. Once you have sucked them up move into the next Blue Wormhole. Satisfy the CheckPoint Switch
 to lower the CheckPoint
  z.
z.Important! Check to see if your Goo Well is full!
If it is not full, you must kill the enemy Boomerang Grunt with your GooberStraw.
If it is full, you may get the gauntletz behind the Boomerang Grunt and start to attack him.
"Hit & Run" tacticz would be wise, whether you use the GooberStraw or the Gauntletz.

 #?
#? you are able to reach. Who knowz, you may find a Coin or two, if you break them!?!
But there doesn't appear to be anywhere you can go from here ... without help.
#2(Newly baked Grunt)
Add your new
into the game and quickly move away from the enemy  over to each of the
  z (which are not what they seem to be!), letting him place a time-bomb next to them. Note: move away from the enemy time-bomb grunt quickly when he places a time-bomb otherwise he will move into the alien goo geyserz! Then once he has blown up all of the z you can then stand on each of the four
  z which closez all the opened
  Bridge Tilez. That will allow your buddy with the Gauntletz to proceed to his next task. #?
 nearest you.
When you see the rolling boulder move away from you follow it to the
 z (or
z (or  z), and when it comes rolling back move diagonaly to the next Arrow and so on.
It can be done using just three Arrowz, but remember to take your time and step on an Arrow as the boulder reachez you!
Then you will come across some Toggling Bridge Tilez

 . The best way to complete this part is to keep clicking on the water ahead of you (as your grunt can't walk into water). Then after you have walked safely across the Toggle Bridge, break the and enter the Blue Wormhole.
There is a
 nearby that will free your buddy, who has been waiting patiently(?) all this time for you to get here.
#2 and when the Two-Way Arrow is facing west
nearby that will free your buddy, who has been waiting patiently(?) all this time for you to get here.
#2 and when the Two-Way Arrow is facing west  and the boulder starts from an Arrow towardz the , step onto the and take a "free ride".
You are now in the middle of eight Arrowz facing in several different directionz. Only two of the eight cannot return you to where you are standing right now.
Is it possible that there is a Secret around here somewhere?
If you time thingz properly, you will land on Spy Gear, and not be deposited into a
 .
. will be following you, make use of your spy gear to see if there is anything of value in the nearby z. That way you will not be squished when he arrivez! and
  into a Goo Puddle and then have one of your Gruntz activate the to make the boulder fall into the .
There may be a Secret around here! It may even provide you with a way to pick up the W now! Take some time, and nose around a bit.
Now
is free to break the z to the west.Meanwhile,
can reveal the true nature of the z to the north.Break as many
z as necessary in order to get the prize. Then once this is done move over towards the z and break the correct .There will be only one 'safe' Tile before the two Blue Wormholez may be entered. So it will be necessary for the two buddiez to 'shuttle' back and forth until a clear path is created.
!Trickiest part of the level!
revealz the true nature of the  z, then quickly comez back. movez on the path that has been activated last and breakz the correct z, then quickly comez back. revealz the true nature of the
  z, then quickly comez back. movez on the path that has been activated last and breakz the correct z, then continuez forward and getz his share of Zap Cola, and goez through a Blue Wormhole (it doesn't matter which one). movez through the path and getz his share of Zap Cola, and goez through the other Blue Wormhole.
 #?
#?Dig it (twice so you don't fall in) and then move into it to find a Prize. Pick it up and wait next to the
. When it becomez a  , quickly turn the into a
  and move onto it, then do the same with the next z. Remember to take your time! Then go stand on the
  to create a Bridge for your buddy to use when he wantz to cross to help you out. #?
 #? nearby that you cannot reach, but there is an enemy Grunt enticingly near it!
Either go east or south until you are either directly north of the enemy or directly west of him. Then shoot him to make him go back until he is near one of the Toggling Bridge Tilez
.Now, to time it perfectly, you need to shoot when you think the tile is about to turn solid.
(Hint: Stay there for a while and have a look at the tile a couple of times before you judge your shot).
Then once he is on the
, quickly shoot him again to make him come safely off. Now shoot him until he reaches the .The barrierz should now be down, so you may move across the bridge. Pick a place to stand as far away from both the enemy GunHat Grunt, and your buddy. He may have something to solve the puzzle of how to cross the
z blocking him. #?z with as far away as possible (not across the bridge!!!), then use your most recent Prize.Then have
shoot the enemy GunHat Grunt to lower the z.After you have done this give
the Object from the GruntzMachine.There are four
and two between you and the enemy Sword Grunt; fill in all but one of the z nearest him. Then dig up the two original z and collect any Prize you find.Then give the enemy Sword Grunt the Object and he should fall into the
.Since there is no longer a Grunt standing on the
, the boulderz that were toggling Red and Green Pyramidz will veer off towardz a  , and the first one will roll over a which will raise a
  preventing the second boulder from reaching the . So you have exactly one chance to negotiate the
  z south of you. Have you SAVEd recently?
Now move near the edge of either side of the
z and wait for them to go down. Once they have gone down move your grunt down to the last  and wait. Then follow the path it makes and stay in the center. It should then show two pathways, move upwards and wait again. then move down when the z lower until you reach the opening.
 #?
#?