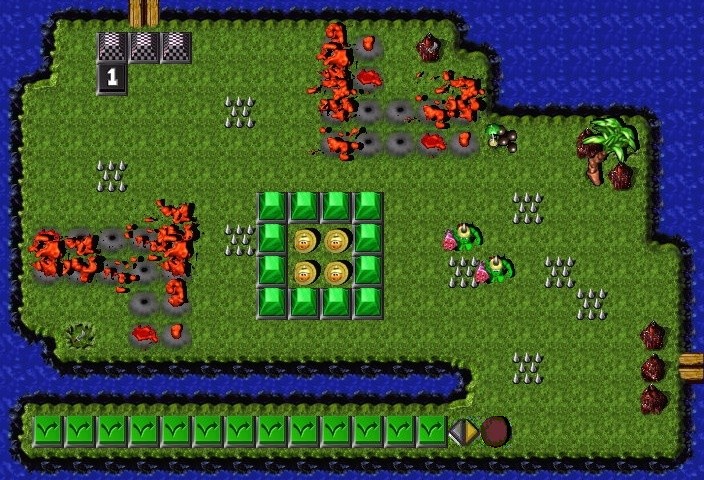
About Zap Cola


 : if you need it, and can reach it, it's yours!
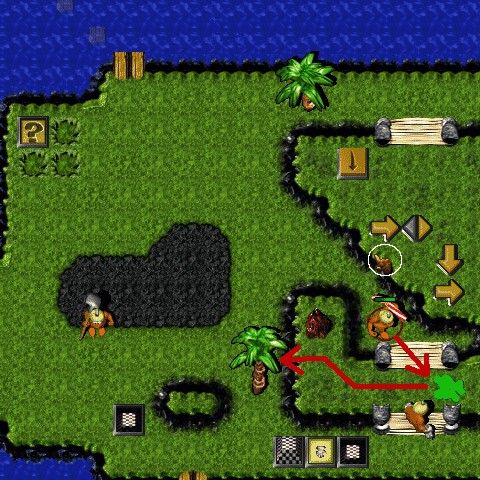
 #1 ... pickz up a GooberStraw
  (Tool #1).
GooberStraw
 #1 usez it to suck up enough Goo puddlez


 to fill the Goo Well. (You should enter Grunt #4 now.)
Employing it in another way, he createz another Goo puddle
 .
.GooberStraw
#1 usez it to add to 
 the Goo Well.
Employing it in another way again, he createz another Goo puddle
 .
.He takez a deep breath and fillz the Goo Well again. (You may enter Grunt #5 ASAP.)
Bare-handed
#2 ... landz on the Warpstone piece  .
.Shovel
 #3 ... arrivez imprisoned ... startz digging, when freed.
Everyone else except:
- Grunt
 #10 ... resurrected
  .
. - Grunt #11 ... resurrected .
- Grunt #12 ... resurrected .
- Grunt #13 ... resurrected .
- Grunt #15 ... special GruntCreation Point
 .
.
on this island, and (has no choice!) either walkz to island #3 (and onward) or divez through a Blue Wormhole  (BW).
(BW).Bare-handed
#4 ... also acquirez Gauntletz  (Tool #2) here ... and startz breaking thingz
  ... and trying to break other thingz
  . (He is a walker.)
Bare-handed
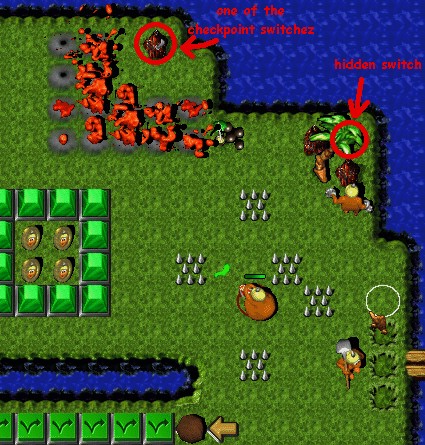
#5 is the first wormhole diver (of eight such Gruntz).Bare-handed
#6, #7, #8 and #9 are all walkerz.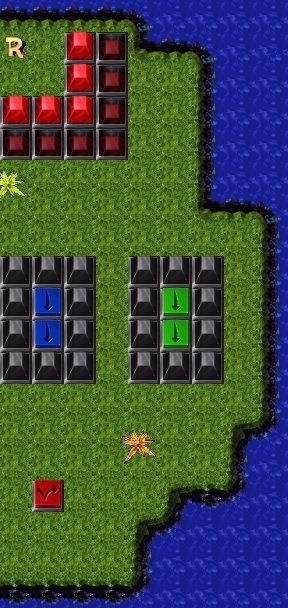 #5 ... he operatez switchez.
Later joined by Grunt
 #12 ... who findz he has nothing more to do.
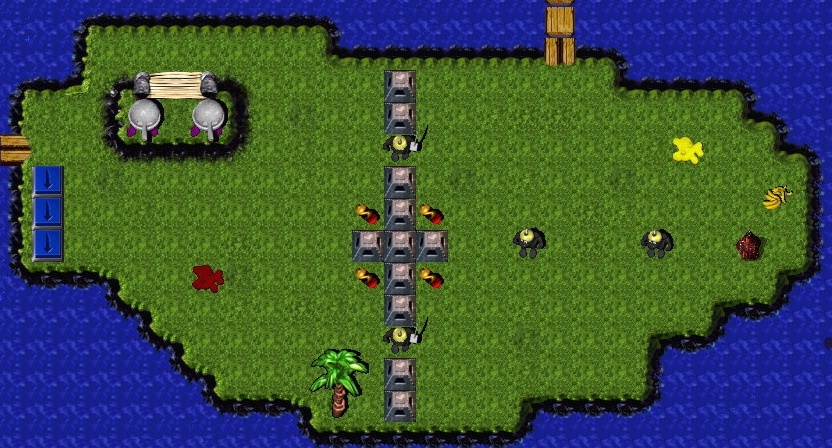
- Gauntletz
 #4
#4
- eliminatez three enemy Gruntz

 .
. - operatez three Blue Hold Switchez
 (BHS) to bring assistance.
 - is the first one to cross to island 4.
- eliminatez three enemy Gruntz
- Warpstone
 #2
#2
- standz on a BHS (where he is safe).
- eventually crossez to island 4.
- standz on a BHS
- GooberStraw #1
- workz on filling the Goo Well .
(You should enter Grunt #6 now.) - standz on the last BHS until two more Gruntz cross.
- is "the bait" for Sword
 #6 to eliminate the last two enemy Gruntz
  .
. - workz on filling the Goo Well . (Enter Grunt #7 now.)
- is the third one to cross to island 4.
- workz on filling the Goo Well
- Bare-handed #6
- pickz up a Sword
 (Tool #3).
 - startz slicing.
- standz on a BHS .
- eventually crossez to island 4.
- pickz up a Sword
- Shovel #3
- assistz Sword #6 to eliminate an enemy Grunt .
- standz on a BHS .
- is the second one to cross to island 4.
- assistz Sword
- Bare-handed #7
- pickz up a Sword (Tool #4).
- standz on a BHS .
- eventually crossez to island 4.
- pickz up a Sword
- Bare-handed #8 ... eventually crossez to island 4.
- Gauntletz #4
- satisfiez a CheckPoint Switch
 (CPS).
This lowerz some CheckPoint Pyramidz
  (CPP).
(It also raisez one that was lowered , preventing retreat.)
- much later ... eliminatez an enemy Grunt
 .
.
- satisfiez a CheckPoint Switch
- later still ... crossez to island 6.
- much later still ... divez into the BW .
 #3
#3
- encouragez enemy Gruntz
 into assisting him.
 - fillz in a Hole
 (or three).
 - encouragez some more.
- convertz them into Goo Puddlez .
- later, operatez a Question Mark Switch
 .
. - eventually crossez to island 5.
#1
- addz to the Goo Well. (Enter Grunt #8 now.)
- goez through the surprise opening and acquirez the Warp letter
 .
. - addz some more to the Goo Well.
- rejoinz Grunt #3.
- eventually crossez to island 5.
 #2, Sword #6,Sword #7 and Bare-handed #8 (in any order) eventually cross to island 5.
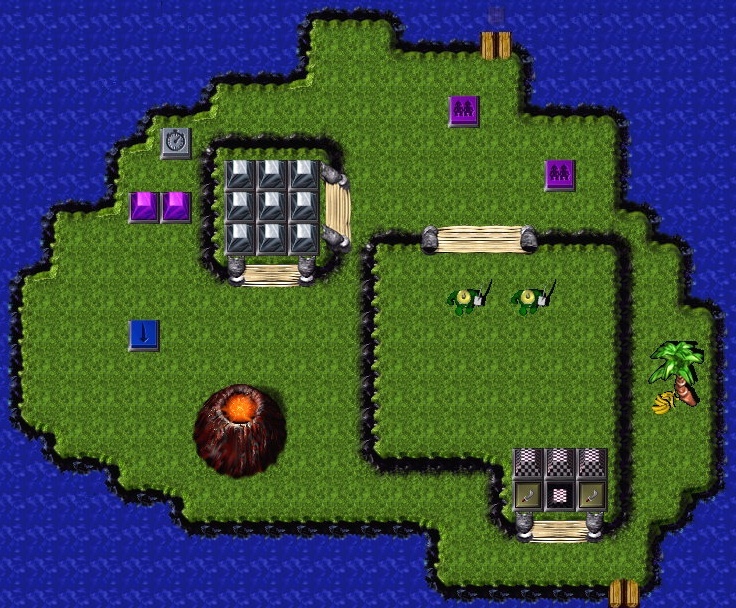
- Bare-handed #8
- walkz to stand near the Purple Pyramidz
 (PP).
(PP). - when they are lowered
 , operatez the Silver Timer Switch
  (STS) three timez (once for each of the remaining Gruntz on the team).
 - when they are lowered (again), movez to stand on the BHS .
- walkz to stand near the Purple Pyramidz
- Sword #6 and Sword #7 (in any order).
- satisfy two CPSez
 .
. - gang up to eliminate (carefully, one at a time) two enemy Gruntz
 , leaving two Goo Puddlez .
 - Stand (briefly!) on the Purple Multi-Grunt Switchez
 (PMGS).
 - Later, they return to stand (briefly!) on the PMGSez .
- eventually, they cross to island 10.
- satisfy two CPSez
- GooberStraw #1
- goez through the Silver Pyramidz
 (SP) maze (showz the otherz, especially Warpstone #2 the way).
 - addz to the Goo Well. (You may enter Grunt #9 now.)
- eventually crossez to island 10.
- goez through the Silver Pyramidz
- Shovel #3
- goez through the SP maze.
- waitz for the Bridge
 to be raised
  , then crossez to island 7.
- goez through the SP
- Warpstone #2
- goez through the SP maze.
- eventually crossez to island 10.
- goez through the SP
(1st time)
- Gauntletz #4
- breakz a few Rockz


 (just one is absolutely necessary ... the correct one will take care of the otherz).
 - standz on a BHS for (quite) a while.
- eventually returnz to island 6.
- breakz a few Rockz
- Grunt #9
- landz on a Magic Wand
 (Tool #3).
 - satisfiez a CPS
 .
. - usez a Megaphone
 to call for Spy Gear
  .
. - Castz a spell to acquire a Warp letter
 .
. - Castz a spell to press a Green Toggle Switch
 (GTS).
 - pickz up another Magic Wand
 (Tool #4) and usez it.
 - Exit, stage left. (Death #1)
- landz on a Magic Wand
- Grunt #10
- Grunt #11
- re-awakez, to pick up Springz
 (Tool #6).
 - bouncez down to stand on a PMGS .
- later, bouncez around some more, trying to find a Secret.
- finding it, he quickly retreatz from aerial danger.
- re-awakez, to pick up Springz
- Grunt #12
- re-awakez, to pick up Wingz
 (Tool #7).
 - fliez down to stand on the other PMGS .
- later, fliez through a Red Wormhole
 (RW).
(RW). - makez a final flight to island 2 to pick up the Warp letter
 .
.
- re-awakez, to pick up Wingz
- Grunt #13
- re-awakez, to pick up a Toob
 (Tool #8).
 - findz some refreshment , then paddlez over to island 6a.
- re-awakez, to pick up a Toob
- Toob
 #13
#13
- satisfiez a CPS
 .
. - turnz an enemy Grunt
 into a Goo puddle .
 - chug-a-lugz some more refreshment .
- stepz on a Blue Toggle Switch
 (BTS).
 - paddlez his way to island 6b.
- satisfiez a CPS
- GooberStraw #10
- addz some more to the Goo Well.
(You may enter Grunt #14 now.) - returnz to island 6.
- addz some more
 #13
#13
- standz on the BHS until his buddy returnz to island 6.
- paddlez back to island 6, where the (remaining) team re-assemblez.
 #4 arrivez via a BW .
He is forced to 'convert' two enemy Gruntz
 into Goo puddlez .
Then he gleefully smashez some Rockz

 .
.Nothing left to break, so he stompz on a BOTS
 .
.GooberStraw
#1 arrivez and cleanz up some messes .
Shovel
#3 arrivez and uncoverz a CPS and a Question Mark Switch .
Sword
#6 and Sword #7 come over later and take their placez on CPSez .
Somebody stepz on the Question Mark Switch
and somebody else collectz the four Coinz.
(scroll down)
- Sword #6 and Sword #7
- gang up (one enemy at a time, if possible) on the two enemy Gruntz , producing Goo puddlez .
- satisfy two of the three CPSez .
- eventually cross over to island 7.
- gang up (one enemy at a time, if possible) on the two enemy Gruntz
- GooberStraw #1
- addz some more to the Goo Well. (It is half full now.)
- Nestle into the space
 between the three CPSez
  .
. - eventually cross over to island 7.
- addz some more
- Warpstone #2
- satisfiez the third CPS .
- leadz the way past the CPP .
- stepz on a BTS .
- eventually crossez to island 7.
- satisfiez the third CPS
 #5
#5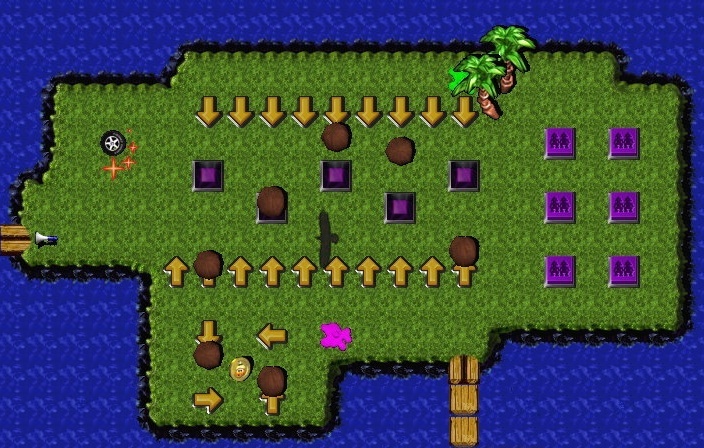 #5 #5
#5 #5 #5
#5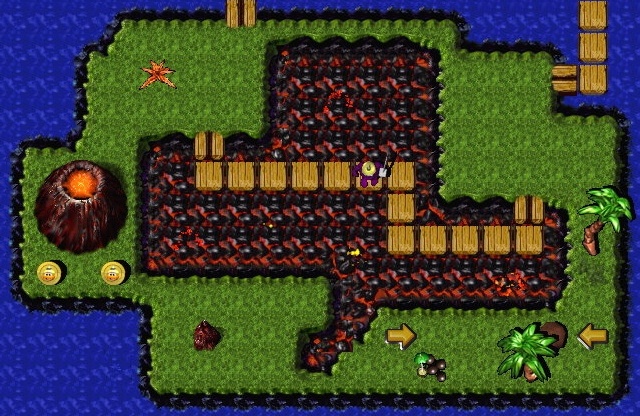 #5
#5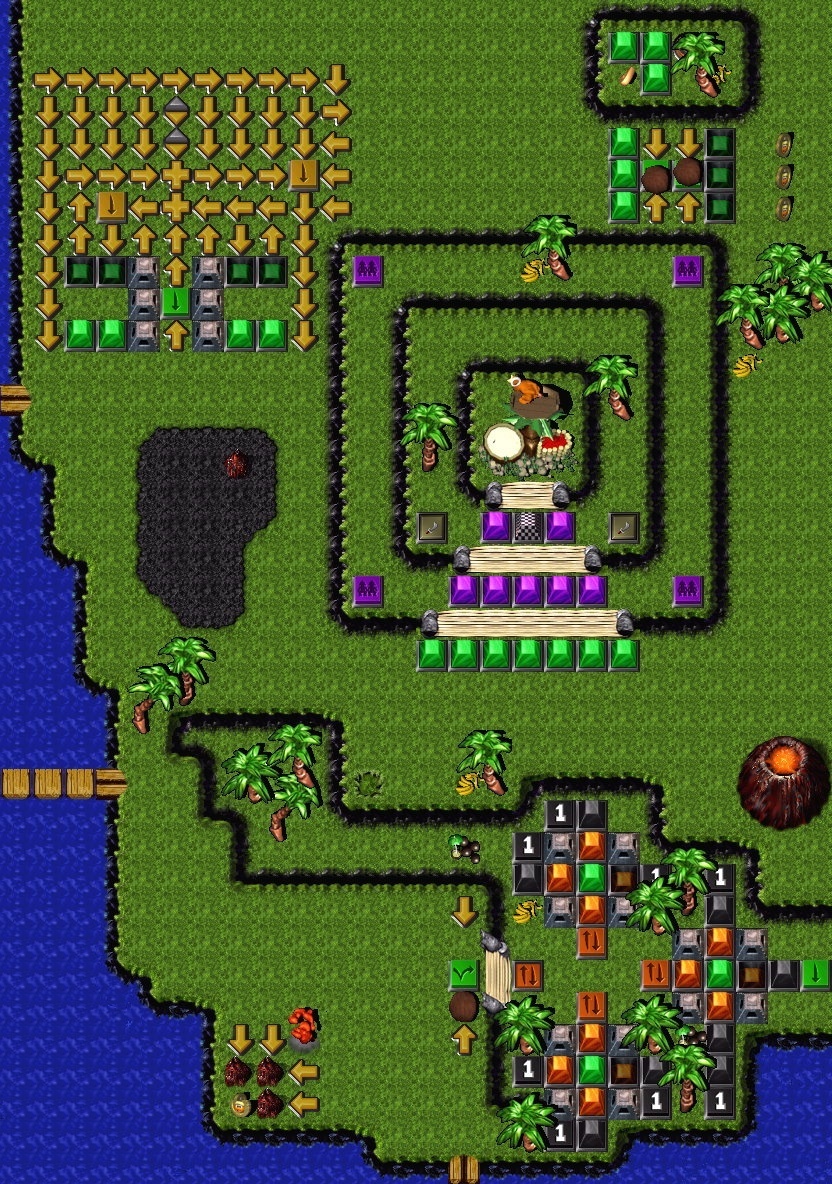 #5
#5