 #2
#2 (YHS), which releasez a Rolling Coconut
  that triggerz a Yellow Toggle Switch
  (YTS) ... that reversez
  a Two-Way Arrow
  (TWA), allowing Bare-handed #1 to reach a Green Wormhole
  (GW). #1 and landz near some Rockz
  .
.Pickz up the Tool
 (#1) that is useful in the area.
 #1 , revealing a Green Toggle Switch
  (GTS) ... that lowerz
  three Green Pyramidz
  surrounding a GW and revealing another Tool
  (#2).
(#2). #1 and landz near some more Rockz
  .
.Suckz up four Orange Goo Puddlez
 , filling the Goo Well.
Do NOT enter the newly-baked Grunt into the game ... yet!
Pickz up the Tool
(#3) that is useful in the area. #1 and stepz back from the ticking sound.Pickz up the Coin
 (#1) revealed and breakz a Rock and stepz back from the ticking sound onto the GTS , which lowerz four GPz surrounding two Purple Multi-Grunt Switchez
  (PMGS) ... jumpz on one of them. #3
 .
.Searchez for anything interesting before taking a stand on one of the PMGSz
.Decidez is it time to acquire a Tool
 (#5). #2
 (#4).
(#4). #2
#2 and (if necessary) fillz in Holez
  , pocketing a Coin (#4) and the Warp letter
  , while stepping on a GTS .
Divez through the GW
and landz on a (hopefully unoccupied) PMGSz .Digz up a Mound
 and activatez the GTS he revealed.
He trotz toward the Landing Dock
 , hoping there will be a Bridge
 connected to it.
Crossez the Bridge and activatez another GTS
.Satisfiez his part of the three CheckPoint Switchez


 (CPS).
Stepz in to help Grunt #3 (and Grunt #1) bash an enemy grunt
 .
.
 #3
#3 (BHS).
That raisez
a Bridge  tile for Gauntletz #1 and Shovel #2 to cross safely.
When Gauntletz
#1 and Shovel #2 have crossed, paddlez over to join them.Ooops! No more Toob.
Respondz to "Pssst! Over here! Got something for you." ... and pickz up another Tool
 (#6).
#1
(#6).
#1 and revealz a "butter knife" ... electz not ot pick it up.
Satisfiez his part of the three CPSez
.(Belatedly) stepz in to help bash an enemy grunt
. #3.
#3.Eliminatez (with some help from #2 and #1) the competition
.Respondz to "Pssst! Over here! Got something for you." ... and pickz up another Tool
 (#7).
(#7).
 #3
#3 .
.Standz on the BHS
and revealz the true nature  of some Brickz
  .
.(Meanwhile, Gruntz #1 and #2 also pass through the SPz
to join him.)
#3 andGauntletz
#1 #1 breakz the (truly) Brown Brickz that his buddy revealz.Spy
#3 and Gauntletz #1 swap placez as necessary to clear the field.Shovel
#2, Spy #3 and Gauntletz #1 satisfy the three CPSez  . #1
. #1        
|
which revealz a small Rock  in the middle. in the middle.Breaking the smaller Rock revealz the Warpstone piece  in the middle. in the middle.
|
       
|
?Well, do you see any Holez or Moundz upstairz?
That's right, toss the "super duper pooper scooper"!
#3 andGauntletz
#1 #1 breakz the (truly) Brown Brickz and there is an entrance into the King's Fortress. #2 to the King! Is your solution "PERFECT!"?
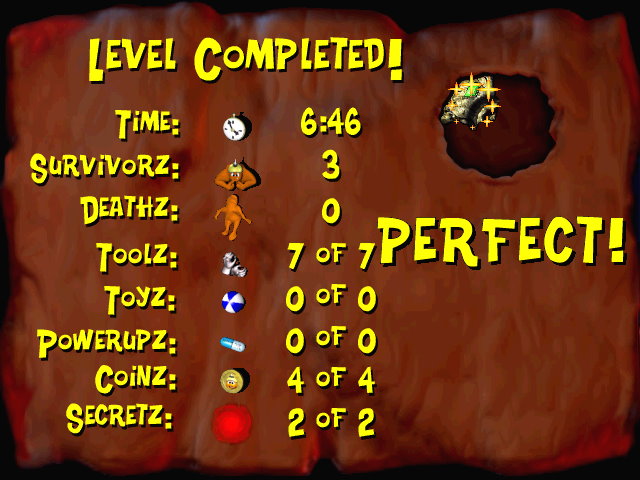