 Bare-handed
 .
.He acquirez the Tool
 from the GruntzMachine, to become Sponge Gun
  .
Sponge Gun
.
Sponge Gun off the Purple Multi-Grunt Switchez
  (PMGS), and onto the Blue Hold Switchez
  (BHS).
Now he can pick up two more Megaphonez
and leave this tight little space.Walking around with the spongegun gives him the opportunity to shoot the enemy Gruntz
 in the upper left section of the maze to Electrical Outletz
  and get them out of the way before actually getting to that area.
He also shootz the enemy Grunt
 in the bottom left to all the switchez.
Suggestion: move him to the southern Yellow Toggle Switch
 (YTS) first (releasez a Rolling Olive
  (RO) to toggle a Green Toggle Switch
  (GTS) that operatez the Green Pyramidz
 (GP) in the northeast),
then to the Blue Toggle Switch
 (BTS),
then to the northern YTS
(releasez a RO to toggle a Red Toggle Switch  (RTS) that operatez the Red Pyramidz
 (RP) in the northeast),
and finally to the GTS
. (You really want him to stay there.)He walkz east, and shootz an enemy Grunt
into the path of some Kitchen Slime.He can now switch toolz: the Toob
 , or the Shovel
  ?
?
 Toob and paddlez to get the Warp Letter
  in the little pool at the bottom right. Again he switches toolz, taking the only one remaining.
 Shovel
 (PP), looking for any Moundz
  he can reach (sometimez digging between raised PPz ).
Sometimez he revealz something glittering
 , and pickz it up.
In the upper right there are a pair of enemy Gruntz
guarding one particular Mound .(You could kill those enemiez, but I do not recommend it if you want to finish the game! Of course, it is up to you.) Naturally, since they are guarding it so well, you just have to find out what is in there.
Arriving back near where he started, he enterz in the only place he can.
(From here on the level is very linear and you do not really need this walk-through [not that you did before]. You are only able to go forward and there are no blind alleyz or side streetz. There are only two ways to mess up.
1. Fail to step on an Orange Up/Down Switch
 (OUDS), or
2. fail to dig up a Mound
or break a Sugar Cube  on the diagonal. So look for these thingz in particular.
Now. . .I bet you can finish without reading the rest of this!)
on the diagonal. So look for these thingz in particular.
Now. . .I bet you can finish without reading the rest of this!)Remember to look for Moundz
or Holez  that you can reach on the diagonal
Make your way through the Arrowz
 and the Electrical Outletz .
You stepped on an OUDS
in the Arrowz  , right?
And then you dug up (and stepped on) another OUDS
in the Electrical Outletz ?There are three safe tilez here. . .I recommend saving at each one.
You dig up and use two more Megaphonez
(one in the Arrowz , the other after the Electrical Outletz ).SAVE before going through the Rolling Olivez
(RO).You step on an OUDS
in the Crumbling Bridge  path (could not avoid it) and acquired two Coinz on the way. Another Coin is at the end of the path.
Then make your way to the Brickz
 . Again SAVE.
Take the Tool
 you need from the GruntzMachine.
 Gauntletz (some are not what they seem.). SAVE often!
(This puzzle would be as challenging, but much faster, if the 'stack'
was just one  layer.)
When you get to the Giant Sugar Cube pilez, start breaking them but be prepared to face those three enemy Gruntz
layer.)
When you get to the Giant Sugar Cube pilez, start breaking them but be prepared to face those three enemy Gruntz  .
.Forget about any Coinz
for now (if you can) ... your goal is to keep healthy!Try to avoid getting hit before you pick up the Invulnerability
 shield.
Then start killing and do it as quickly as possible. Kill the last enemy with the hit and run method.
Then go back and get the Coinz
, break everything you can reach, and then refresh yourself with Canz of Zap Cola  .
.(You did remember to step on that OUDS
, right?You know, the one you dug up on the diagonal from the Arrowz
?)You uncovered and used a Megaphone
... take the Tool (you need now!) that the keeper cranked out for you.
 Springz
 and Electrical Outletz (acquire the first Warp Letter
  (the Designer is Scottish) step on an OUDS , acquire four Coinz ) and eventually lose your Springz
  to the Spikez .
Within the RPz
, get the last Tool  from the GruntzMachine.
 Boomerang standing on three Green Hold Switchez
  (GHS) holding those GPz up.
(A good place to stand is on that dead fly.) For sure do a SAVE now!
The Silver Pyramidz

 (SP) are a bit long (Sorry!) so check them out in advance (maybe more than once) before stepping on the Silver Timer Switch
  (STS) for real.
Once you are through, kill that enemy Grunt
(you may have already done so in the beginning) and make your way through the ROz . They are easier than they look.Kill the last enemy Grunt
 and now you should be able to get to the fort if you stepped on all the OUDSez .
Step on your CheckPoint Switch
 (CPS), and test those spikez !
Before you pick up the Warpstone
 , step on the Question Mark Switch
  (QMS), make your way around for six Coinz and the Warpstone .
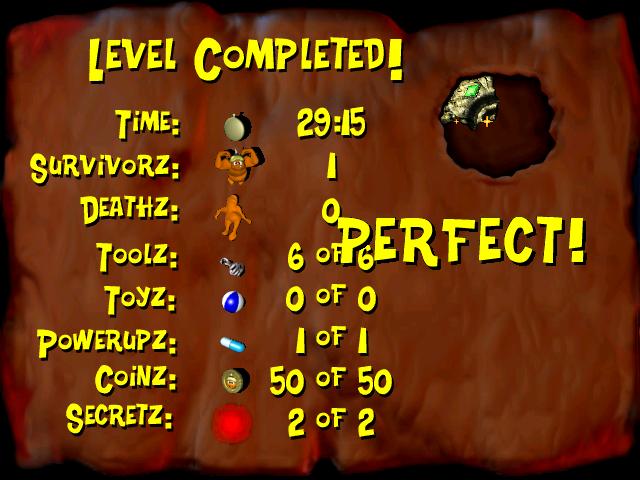
Give it to the King! Hurray! You should have the Perfect!