 Brick-laying Toolz
 Grunt #3 pickz them up from near where three Gruntz
(Bare-handed
#3, Bare-handed #4 & Bare-handed #5)entered the game.
 Gauntletz Grunt #4 pickz them up from east of where he entered the game.
 GooberStraw Grunt #5 getz it from the GruntzMachine.
 Boomerang
 Grunt #3 pickz it up at the bottom of the Rolling SnowBallz
 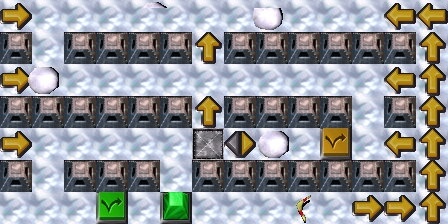 and Arrowz area.
 SpongeGun Grunt #7 enterz
  the puzzle northeast of it.


 (CPS)
(CPS) Springz
 Grunt #3 getz them from the GruntzMachine.
 Toob
Toob Grunt #5 getz it from the GruntzMachine.

 Spy Gear Grunt #2 pickz it up after sucking up all of the Goo Puddlez he can reach. Brick-laying Toolz Grunt #5 pickz them up after losing his Toob on the ToobSpikez, on his way to step on the Purple Multi-Grunt Switch
  (PMGS) after he stepz on the Black One-Time Switch
  (BOTS). Gauntletz
 Grunt #1 getz them from the GruntzMachine.
 Bomb Grunt #8 (newly baked ) enterz the puzzle west of it.
(A short, but useful life.)
Bomb

 that all look like ordinary Brickz
  . Bare-handed Grunt #1 (he lost his Gauntletz to a Gauntlet-breaker Brick
  ) pickz it up and usez it.
(Exit, Grunt heaven.)
BombSpy Gear
 Grunt #2 pickz it up and usez it.
(Exit, Grunt heaven.)
Gauntletz #4 pickz them up from east of where he broke his previous pair by breaking the final obstacle to the team's eastward progress ... a Gauntletz-breaker Brick .
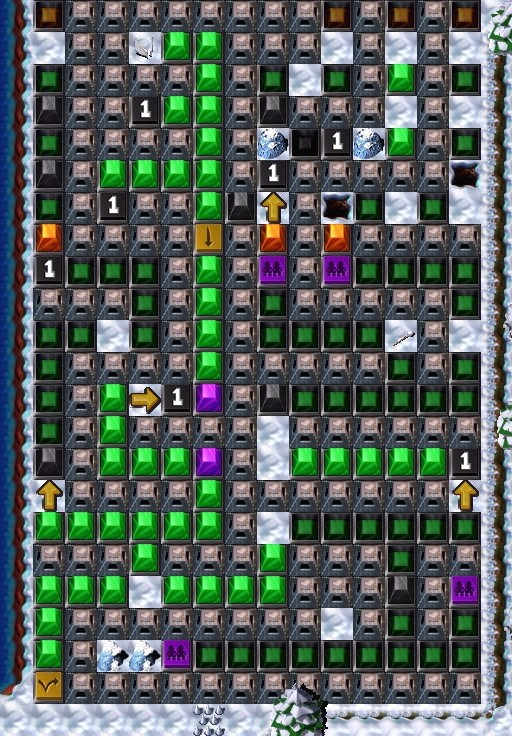
 Shovel Grunt #3 (he lost his Springz to a Spikez
  tile) pickz it up in the right central part of his 'column' in the puzzle containing
- Construction Pyramidz
 (CP)
(CP) - Green Pyramidz
 (GP)
(GP) - Purple Pyramidz
 (PP)
(PP) - Black Pyramidz
 (BP)
(BP) - Orange Pyramidz
 (OP)
(OP) - BOTS
- PMGS
- Holez
 and
and - Ice Crystalz
 .
.
 Wingz Grunt #5 pickz them up at the top of his 'column' in the puzzle containing
- CP
- GP
- PP
- BP
- OP
- BOTS
- PMGS
- Holez and
- Ice Crystalz .
Wingz Grunt #5 pickz up a Megaphone
  to call for them, and usez them himself.
 Gravity Bootz
 Grunt #7 pickz them up. GooberStraw Grunt #5 pickz it up from near the Blue Hold Switch
  (after all of the team has crossed the bridge it controlz).

 Gun Hat Grunt #5 pickz it up just after defeating the enemy grunt
  , recovering his GooberStraw (and sucking up his Goo
  , in order to bake Grunt #9). Gauntletz #9 pickz them up northeast of Coin
  #40, and usez them to acquire Coinz #41 & #42.
 GooberStraw
 Grunt #7 pickz it up from near the Blue Toggle Switch
  (after all of the enemy Gruntz
  have been turned into Goo Puddlez
  ).
). Warpstone
- Shovel Grunt #3
- Gauntletz
 Grunt #4
 - Gun Hat
 Grunt #5
 - SpongeGun Grunt #6
- GooberStraw Grunt #7
- Bare-handed Grunt #10
- Bare-handed Grunt #11
- Bare-handed Grunt #12
are all occupied, so he may cross over the PPz  .
.